Fix Microsoft Software Protection Platform Service (Sppsvc.exe) High CPU Usage on Windows

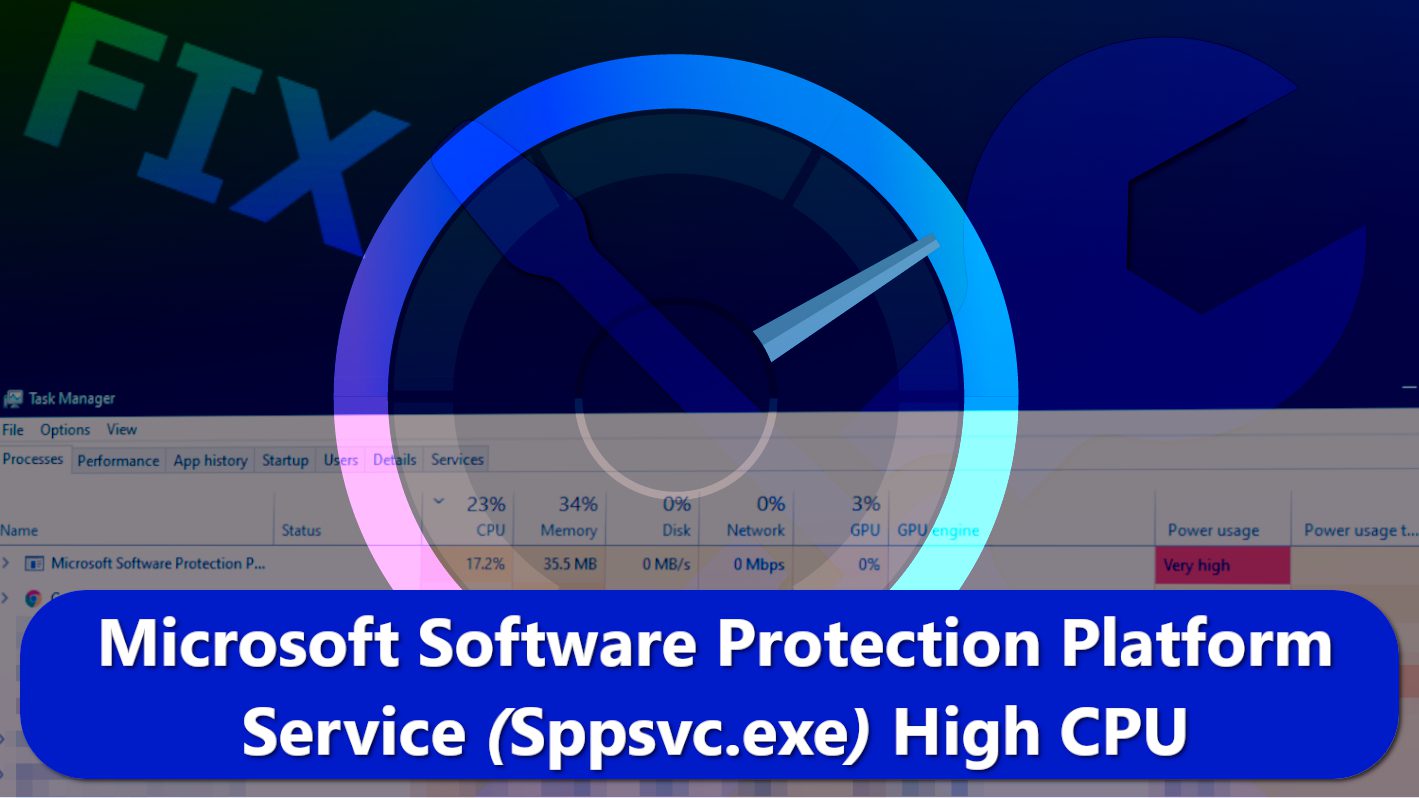
Microsoft Software Protection Platform Service Sppsvc.exe causes High CPU Usage
Contents
- Microsoft Software Protection Platform Service Sppsvc.exe causes High CPU Usage
- Method 1. Run System Maintenance Troubleshooter
- Method 2. Check if the issue persists in Safe Mode/Clean Boot
- Method 3. Use System File Checker
- Method 4. Scan for Malware and Repair Damaged Windows OS files
- Method 5. Update or Disable KMS
- Method 6. Disable Sppsvc.exe Service via Regedit OR Services
- Method 7. Disable Sppsvc.exe via Task Scheduler
- Method 8. Update Windows
- Method 9. Restore using System Restore Point
- Method 10. Reset Windows
Sppsvc.exe is a process name of Microsoft Software Protection Platform Service. It is one of the core processes of Microsoft Windows operating system, which usually runs in the background and performs functions like downloading, installation and usage of license keys for Windows and installed applications. It usually monitors legitimate usage of programs and is designed to identify and prevent software piracy.
In some cases, this process can start to cause High CPU. The CPU is a core integral part of the computer system, and there are diverse processes that can actually hinder its optimal performance, thereby slowing down your computer. Sometimes, it can be so bad that your PC practically becomes unusable.
When high usage occurs due to sppsvc.exe, it impacts the CPU more significantly than other random processes. Nevertheless, two distinct situations can give rise to such occurrence, i.e., interference with a genuine Windows copy or a copy that was activated using third-party applications, including KMS, among others.

It is important to emphasize that when a PC does not have official Windows version, there is every chance that KMS would be active in the background while clashing with sppsvc (the authentic protection mechanism put in place to guard Windows). On the other hand, when it clashes with a Windows copy that is actually genuine, it is often due to a bug associated with third-party applications. Normally, you can identify this cause by booting your PC in Safe Mode and checking whether Microsoft Software Protection Platform Service High CPU Usage is still a problem.
Attention: There are cases whereby a computer user could be making use of genuine Windows copy yet other Microsoft utilities like MS Office are actually pirated copies that were activated through unauthorized third-party applications.
Nevertheless, if the computer user decides to disable the service in order to prevent its interference with the CPU, it would prompt the “Windows is not activated” notice that would appear at the bottom right corner of the computer screen.
REMOVE MALWARE & REPAIR VIRUS DAMAGE
1 Step. Get robust antivirus to remove existing threats and enable real-time protection
INTEGO Antivirus for Windows provides robust real-time protection, Web Shield against phishing and deceptive websites, blocks malicious downloads and blocks Zero-Day threats. Use it to remove ransomware and other viruses from your computer professionally.
2 Step. Repair Virus Damage on Windows Operating System Files
Download RESTORO to scan your system for FREE and detect security, hardware and stability issues. You can use the scan results and try to remove threats manually, or you can choose to get the full version of software to fix detected issues and repair virus damage to Windows OS system files automatically.
Method 1. Run System Maintenance Troubleshooter
It is necessary to run system maintenance troubleshoot in order to decipher if there are errors associated with your Windows operating system that may be causing Microsoft Software Protection Platform Service High Disk Usage. Here is how to run the troubleshooter:
- In Windows search, type control panel and open the matching result.
- In Control Panel, look at the upper right corner and choose Small icons from View by options. Then click on Troubleshooting.
- On the left pane, select View all to see all troubleshooters.
- Search for System Maintenance and click on it. In the Troubleshooter, click Advanced.
- Now, put a checkmark next to Run as Administrator option. Ensure that Apply repairs automatically option is also selected. New window should open now, so click Next in it.
- At this point, the troubleshooter automatically scans for issues related to system maintenance and shows if any are detected. Afterwards, it will suggest possible repairs or tries to correct the issues automatically.
- Afterward, restart your PC.
Method 2. Check if the issue persists in Safe Mode/Clean Boot
Safe Mode or Clean Boot can be used to check whether the issue has been solved or if it still constitutes a drag to the smooth running of your computer. Both methods can be used to run a computer system while utilizing the least resources, thereby making it easy to identify and fix/isolate any application or program that is not functioning properly.
Start your computer using the Safe Mode option (tutorial here). In case the problem couldn’t be identified with this option, try to clean boot your PC using instructions provided below.
- Press Windows key + R to launch Run app. Type msconfig and press OK.
- Go to Services tab. Now, put a checkmark next to Hide all Microsoft services. This will hide all Microsoft services and you will see a list of active third-party services. Click Disable all.
- The services will now appear as Stopped. Now, click Apply and OK.
- Now go to the Startup tab, and then click Open Task Manager option.
- Now, right-click on process and click the Disable button. Repeat with all processes listed there.
- Finally, it is time to restart your PC to see if the CPU is still in high usage or if it has normalised. If it hasn’t, then it shows that the problem is due to an external program. You will have to search all your installed programs in order to find out which one causing the issue. Another solution to this is using RESTORO (download link), which can show which programs cause issues.
Method 3. Use System File Checker
The System File Checker or SFC is a utility program available in Microsoft Windows. The program enables PC owners to search and detect files that may have corrupted in their computer system. Despite the fact that it has been available since the emergence of Windows 98 yet not many people have been able to leverage it in order to scan and detect any problem and its root cause.
You can run SFC to see if it could detect and solve the issues we are facing. As a result, you will receive one of these three probable outcomes listed below:
- Windows couldn’t discover any breach/integrity violations;
- Windows Resource Protection discovered corrupt files and fixed them;
- Windows Resource Protection discovered corrupt files but couldn’t repair some/all of them.
- In Windows search, type powershell. Right-click the matching result and choose Run as Administrator.
- In User Account Control window, press Yes to continue.
- In the PowerShell window, type sfc/scannow, then press Enter. This procedure takes time; therefore, sit back and wait until it completes.
- If at any point, your Windows system indicates it found error but couldn’t fix it, then use the following command: DISM/Online/Cleanup-Image/Restore Health. This command will restore corrupted files. This process might take some depending on your internet connection BUT NEVER CANCEL the process while it is still running.
- Reboot your computer.
Method 4. Scan for Malware and Repair Damaged Windows OS files
In some cases, what causes such issue is the presence of malware in the computer system. There have been reports of viruses infiltrating and interfering with the Microsoft process thereby causing a drag on the computer system’s resources.
Therefore, it becomes necessary to make use of genuine antivirus software in scanning your PC to ensure it is malware-free. For this procedure, we recommend using INTEGO Antivirus. You may want to read its review here first. Then we recommend using a special tool for repairing Windows OS files without the need to reinstall the Windows operating system. It can also repair virus damage to Windows OS files. You can download it here – RESTORO.
The guide below explains how to use these tools, although you can use software of your choice for this task.
- Install Intego Antivirus for Windows and activate it using official license key you received.
- Go to Scans pane and select Scan now below Complete Virus Scan.
- Delete identified threats as recommended by the software.
- Next, download RESTORO and activate it.
- Run a scan to identify stability, hardware and security issues, junk files, broken registry and privacy issues.
- Click Start repair to fix detected issues.
Method 5. Update or Disable KMS
For those making use of KMS software in activating Windows products, you should check if you’re using the latest version of KMS. Try updating it, then reboot your computer and run a check to see if the problem has been solved. If the problem is still there, you can try to disable KMS or just stop sppsvc.exe. Once the sppsvc.exe is disabled, it will indicate so by displaying Windows is not genuine or Activate Windows watermark form on the screen.
Likewise, if you’re making use of genuine Windows and used KMS to activate other software, then try disabling KMS.
Note. Usage of KMS software is not recommended by our team. It is an illegal tool and often comes with malicious additions.
- In Windows search, type Task Scheduler and open the matching result.
- In the next window, click the little arrow next to Task Scheduler Library to expand it. Then click on the arrow next to Microsoft. Then click on KMS folder. On the right side you will see different applications activated through KMS. Right-click on each of these applications and choose Disable.
- Restart your PC and confirm if the problem has been fixed.
Method 6. Disable Sppsvc.exe Service via Regedit OR Services
If none of the methods outlined above could work to fix Microsoft Software Protection Platform Service High CPU usage then you should make use of the Registry Editor to disable the service entirely. However, be aware that this solution could trigger “Windows is not activated” watermark on your PC screen.
IMPORTANT: Registry Editor is a sensitive tool therefore precautionary measures are advised when using it. Follow the steps provided carefully and do exactly as instructed. The best option to avoid any issues is to create a registry backup before implementing any changes.
- Tap Windows + R to set up the application, then type regedit into provided field and tap Enter or click OK.
- In the Registry Editor, copy and paste the following directory in the navigation bar and press Enter:
Computer\HKEY_LOCAL_MACHINE\SYSTEM\CurrentControlSet\Services\sppsvc
- Now, make sure sppsvc is selected on the left pane; then, look at the right pane and double-click on a key named Start. Set its Value data to 4 and click OK.
- Automatic/Automatic (Delayed Start) – 2 (default);
- Manual – 3;
- Disabled – 4.
- Restart your PC and check if the issue is gone.
Another solution would be to stop the Software Protection function in the Services tool. However, this option does not work 100% all the time but it is worth trying, especially when other options fail.
- Launch Run prompt by pressing Windows key + R, then type services.msc in the provided field and press OK.
- Search for Software Protection service, then right-click it and select Stop. It would automatically stop the service as well as other issues related to Microsoft Software Protection Platform.
Method 7. Disable Sppsvc.exe via Task Scheduler
If after solution 6, the Sppsvc.exe High CPU usage issue is still unresolved, you can try disabling it via Task Scheduler.
- Open Windows search bar, and type Task Scheduler into it. Open the matching result. In Task Scheduler, click on an arrow next to Task Scheduler Library, then Microsoft, then Windows.
- Now, scroll down to find SoftwareProtectionPlatform and click on it. Now, look on the right pane and right-click task named SvcRestartTask, and choose Disable.
- Now, disable other tasks available in the same folder and restart your computer.
Method 8. Update Windows
Generally, Windows often release vital updates that aim to fix bugs in the current operating system version. Therefore, it is important to keep your Windows up to date. Here’s how to install pending updates to your OS system:
- In Windows search, type Windows update. Click on search result named Check for updates.
- Now, you will see Windows settings open up. Here, click on Check for updates and install all recommended updates as well as download and install available feature updates.
- Restart your computer and check if the error persists.
Method 9. Restore using System Restore Point
You can also solve Microsoft Software Protection Platform Service Sppsvc.exe HIGH CPU issue by restoring your PC using previously created System Restore Point. You should know that using this option reverts your computer’s state (including system files, Windows Registry, installed software, settings) into that point of time when the System Restore Point was created.
- In Windows search, type Control panel and open the matching result.
- Now, next to View by: select Large icons option. Then click on Recovery.
- Now, click on Open System Restore.
- In System Restore, click Next, then put a checkmark next to Show more restore points. Now, select the preferred restore point from the list and click Next.
- In the last window, click Finish to confirm and your computer will be restored to the chosen point.
Method 10. Reset Windows
If the issue still persists at this point, you can try resetting your PC. Resetting PC means reinstalling Windows without affecting your personal files. However, this method deletes applications installed from websites or DVDs and also reverts changes made to settings. A good alternative for this method is using RESTORO which helps to repair Windows OS files without the need to reinstall the operating system. However, if you decided that you want to reset Windows, follow the steps given below.
- In Windows search, type Windows update. Click on search result named Check for updates.
- In Settings, click on Recovery. Now, click on Get started under Reset this PC.
- In the following window, click on Keep my files.
Attention: After Windows 10 Fall Creators Update version 1709, Microsoft appears to have blacklisted KMS software. Therefore, usage of this software will continue to trigger high CPU usage due to Microsoft Software Protection Platform functionality unless its developers are able to figure out how to overcome it.
So, what’s the solution for now? Purchase and install genuine Windows or simply resort to any pre 1709 Windows version.

Matt Corey is passionate about the latest tech news, gadgets and everything IT. Matt loves to criticize Windows and help people solve problems related to this operating system. When he’s not tinkering around with new gadgets he orders, he enjoys skydiving, as it is his favorite way to clear his mind and relax.
Recent Posts
Private Internet Access Review 2022: Fast, Secure & Cheap VPN
Private Internet Access (PIA) VPN maintains its long-term role as a leader Private Internet Access…
Remove XCBG Ransomware Virus (DECRYPT .xcbg FILES)
XCBG ransomware aims to lock your files and demand a ransom XCBG ransomware is a…
Remove BPQD Ransomware Virus (DECRYPT .bpqd FILES)
BPQD ransomware encrypts all computer files, demands a ransom from the user BPQD ransomware is…
Remove KQGS Ransomware Virus (DECRYPT .kqgs FILES)
KQGS ransomware is a hostile computer virus designed to encrypt all of your files KQGS…
Remove VTYM Ransomware Virus (DECRYPT .vtym FILES)
VTYM ransomware description: a virtual menace to your files stored on the computer VTYM ransomware…
Remove FOPA Ransomware Virus (DECRYPT .fopa FILES)
FOPA ransomware is a new threatening computer virus that encrypts your files FOPA ransomware virus…