Remove MacKeeper from Mac (Uninstall Guide)

MacKeeper reviews: some people say they regret installing it
Contents
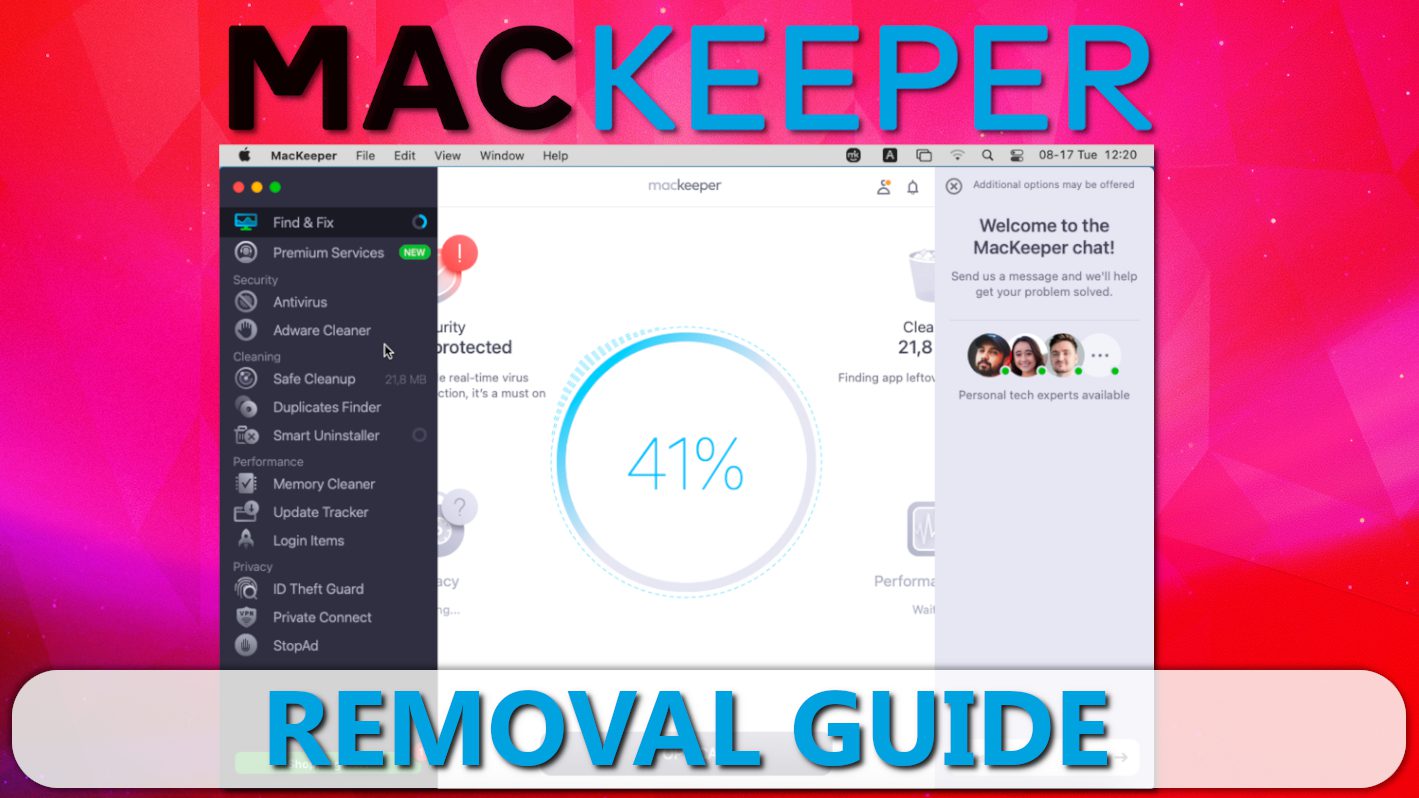
MacKeeper is advertised as a “one lifesaver app to cover anything Mac,” promising to cleanup, protect and optimize OS X based computers. However, various discussions on online forums suggest that some people question its performance and methods used to advertise it. In some cases, people even call it MacKeeper virus or MacKeeper malware, despite that the software does not fall into these categories. Nonetheless, we can understand why some people may be using these names for the program – it seems that there’s lack of clarity how to uninstall this program from Mac completely.
Although this software used to rely on rather aggressive advertising techniques (such as pop-ups arising from questionable websites), it seems that it slowed down on these nowadays. However, we will not get into further analysis of the operation of this software and why you decided to remove it from your system. Our point is to provide users with a helpful guide on how to remove MacKeeper from Mac. Make sure you follow the instructions carefully and complete all steps in order to ensure smooth and successful uninstall procedure.

Guide to Uninstall MacKeeper Completely
Remove MacKeeper using INTEGO ANTIVIRUS for Mac (includes scanning for iOS devices). The one-of-a-kind security suite provides VirusBarrier X9 real-time protection against Mac and Windows-based malware, removes existing threats and scans for malware in popular e-mail clients. Includes NetBarrier X9, an intelligent firewall for home, work and public connections.
1. Get rid of MacKeeper’s icon from Menu Bar
Apparently it seems that people run into issues when trying to force quit MacKeeper, besides, the program’s menu bar doesn’t provide quit option either. Therefore, we suggest you to remove the app’s icon from the menu bar by following these steps:
- Go to Finder > Applications folder and double-click MacKeeper app to launch it.
- Now, click on the program’s menu and select Preferences.
- Navigate to General tab.
- Deselect Show MacKeeper icon in menu bar option.
- Now, press Command+Q to quit MacKeeper.
Note. In newer versions, the menu bar icon should disappear automatically once you quit the MacKeeper via its menu.
2. Remove MacKeeper app from Mac
- Go to Finder > Applications.
- Now, find MacKeeper application and right-click it. Choose Move to Bin.
- If the system asks for your password, provide it. This is required to remove the app from the computer.
- You may get another prompt asking to confirm if you are sure you want to uninstall MacKeeper. Enter your user name and password and confirm by clicking OK.
- Once you uninstall MacKeeper, a browser window will open and load “Sad to see you go…” page from the said software vendor. It asks to provide reason why you chose to uninstall the app. However, this is optional, so you can simply close the browser page.
3. Remove MacKeeper remains from the system
Although you have used the traditional way to uninstall Mac’s apps, this doesn’t mean that absolutely all components of MacKeeper are removed. Therefore, you will need to follow these additional steps to clear all of remaining files from your computer.
- Open Finder and click Go in the upper menu, then choose to go to Home directory. Here, right-click MacKeeper Backup folder and choose to Move to Bin. Alternatively, you can simply drag the folder to Trash.
- Now, you will need to check the following directories and clean them up from the application’s remains. Click Go > Go to Folder… and enter ~/Library/Application Support/ here, then press Go. Here, move folders called MacKeeper Helper and MacKeeper to Trash.
- Now, use Go > Go to Folder to access ~/Library/Caches/. Here, delete files called com.mackeeper.MacKeeper, com.mackeeper.MacKeeper.Helper, com.mackeeper.MacKeeperAgent.
- Next, use Go > Go to Folder to access ~/Library/LaunchAgents/. Here, delete file called com.mackeeper.MacKeeper.Helper.plist and com.mackeeper.MacKeeperAgent.plist.
- Finally, use Go > Go to Folder to access ~/Library/LaunchDaemons/. Here, delete file called com.mackeeper.MacKeeper.plugin.AntiTheft.daemon.plist.
- To complete the removal procedure, right-click Trash Bin and choose Empty Bin.
NOTE. If you can’t find some of these folders or files, it means that they have been successfully removed by uninstalling MacKeeper via Applications folder (described in method #2).
Now, in order to get rid of MacKeeper pop-ups and other unwanted extensions in your browser that might be displaying excessive advertising, we strongly recommend you to use this guide down below that explains how to clean every browser on Mac.
OUR GEEKS RECOMMEND
Keep your Mac virus-free with INTEGO, an exceptional antivirus with an option to scan other iOS devices. The VirusBarrier X9 offers 24/7 real-time protection against Mac and Windows malware, includes intelligent firewall (NetBarrier X9) for protecting your incoming/outgoing connections at home, work or public hotspots and more.
INTEGO antivirus is one of the leading security products for Mac that includes VirusBarrier X9 and NetBarrier X9 features allowing detection of viruses, ransomware, adware, browser hijackers, Trojans, backdoors and other threats and blocks suspicious network connections. If any detections are found, the software will eliminate them. Learn more about the software's features in its full review.
GeeksAdvice.com editors select recommended products based on their effectiveness. We may earn a commission from affiliate links, at no additional cost to you. Learn more.
MacKeeper pop-ups Removal Tutorial
To remove the unwanted program from your Mac, use these instructions below to uninstall associated applications from your Mac computer. Then scroll down for instructions how to clean each affected web browser individually.
Remove MacKeeper pop-ups from Mac
- Click on Finder.
- Go to Applications folder.
- Look for suspicious applications you can't remember installing. Right-click them and select Move to Trash.
- After moving all suspicious apps to Trash, right-click the Trash bin in Mac's Dock and select Empty Trash.

Remove using INTEGO ANTIVIRUS for Mac (includes scanning for iOS devices). The one-of-a-kind security suite provides VirusBarrier X9 real-time protection against Mac and Windows-based malware, removes existing threats and scans for malware in popular e-mail clients. Includes NetBarrier X9, an intelligent firewall for home, work and public connections.
Remove MacKeeper pop-ups from Safari
Uninstall suspicious Safari extensions
- Open Safari and click on Safari button in the top left corner. Select Preferences in the menu that appears on the screen.
- Now, go to Extensions tab. Look at the left to see all installed extensions, click on suspicious ones and hit that Uninstall button as shown in the picture. Confirm your choice by clicking Uninstall again. Repeat until you get rid of all unwanted extensions.
Change Safari Homepage and default search engine
- In Preferences, open the General tab. Here, check what URL is set as your homepage. Delete it and type in whatever URL you want to set as your Safari Start Page.
- Next, go to the Search tab. Here, choose what Search engine you want to set as default.
- Next, click on Manage websites... then Remove all... and then Done.
Remove push notifications on Safari
Some suspicious websites can try to corrupt your Safari by asking to enable push notifications. If you have accidentally agreed, your browser will be flooded with various intrusive advertisements and pop-ups. You can get rid of them by following this quick guide:
- Open Safari and click on Safari button in the top-left corner of the screen to select Preferences;
- Go to Websites tab and navigate to Notifications on the left side toolbar.
Reset Safari
- Click on Safari > Clear History...
- Then choose to clear All history and hit Clear History button to confirm.
- Go to Safari > Preferences and then open Privacy tab.
- Click Manage Website Data... then Remove All. To finish, click Done.
- Finally, clear Safari cache. In Safari Menu, click Develop > Clear Cache.
Remove MacKeeper pop-ups from Google Chrome
Remove suspicious Chrome extensions
- Open Chrome and type chrome://extensions into address bar and press Enter.
- Here, look for suspicious extensions, and Remove them.
- Don't forget to confirm by pressing Remove in the confirmation pop-up.
Change Start Page settings
- In Chrome address bar, type chrome://settings and press Enter.
- Scroll down to the On startup section. Check for suspicious extensions controlling these settings, and Disable them.
- Additionally, you can set browser to Open a specific page or set of pages via these settings. Simply choose this option, click Add a new page, enter your preferred URL (f.e. www.google.com) and press Add.
Change default search settings
- In Chrome URL bar, type chrome://settings/searchEngines and press Enter. Make sure you type searchEngines, not searchengines. Additionally, you can go to chrome://settings and find Manage search engines option.
- First, look at the list of search engines and find the one you want to set as default. Click the three dots next to it and select Make Default.
- Finally, look through the list and eliminate suspicious entries. Right-click the three dots and select Remove from the list.
Remove push notifications from Chrome
If you want to get rid of the annoying ads and so-called push-notifications viruses, you must identify their components and clean your browser. You can easily remove ads from Chrome by following these steps:
- In Google Chrome, press on Menu (upward arrow) in the top-right corner of the window.
- Select Settings.
- Go to Privacy and Security > Site Settings.
- Open Notifications.
- Here, go to the Allow list and identify suspicious URLs. You can either Block or Remove by pressing on the three vertical dots on the right side of the URL. However, we suggest the Block option, so the site won't ask you to enable the notifications if you ever visit it again.
Reset Google Chrome browser
- The final option is to reset Google Chrome. Type chrome://settings in the URL bar, press Enter and then scroll down until you see Advanced option. Click it and scroll to the bottom of the settings.
- Click Restore settings to their original defaults.
- Click Restore settings to confirm.
Remove MacKeeper pop-ups from Mozilla Firefox
Remove unwanted add-ons from Firefox
- Open Firefox and type about:addons in the URL bar. Press Enter.
- Now, click on Extensions (in the left section).
- Click Remove next to every suspicious browser add-on that you can't remember installing.
Change Firefox Homepage
- In Firefox address bar, type about:preferences and hit Enter.
- Look at the left and click the Home tab.
- Here, delete the suspicious URL and type or paste in the URL of a website you'd like to set as your homepage.
Alter preferences in Firefox
- Type about:config in Firefox address bar and hit Enter.
- Click I accept the risk! to continue.
- Here, type in the URL which has taken over your browser without your knowledge. Right-click each value that includes it and choose Reset.
Remove annoying push notifications from Firefox
Suspicious sites that ask to enable push notifications gain access to Mozilla's settings and can deliver intrusive advertisements when browsing the Internet. Therefore, you should remove access to your browser by following these simple steps:
- In Mozilla Firefox, click on Menu (the three horizontal bars) on the top-right corner of the window, then choose Options.
- Click on Privacy and Security, then scroll down to Permissions section.
- Here, find Notifications and click Settings button next to it.
- Identify all unknown URLs and choose to Block them. Click Save Changes afterward.
Reset Mozilla Firefox
- In Firefox, type about:support in the address bar and press Enter.
- Click on Refresh Firefox...
- Click Refresh Firefox again to confirm.
Disclaimer. This site includes affiliate links. We may earn a small commission by recommending certain products, at no additional cost for you. We only choose quality software and services to recommend.

Norbert Webb is the head of Geek’s Advice team. He is the chief editor of the website who controls the quality of content published. The man also loves reading cybersecurity news, testing new software and sharing his insights on them. Norbert says that following his passion for information technology was one of the best decisions he has ever made. “I don’t feel like working while I’m doing something I love.” However, the geek has other interests, such as snowboarding and traveling.
Recent Posts
Remove HFGD Ransomware Virus (DECRYPT .hfgd FILES)
HFGD ransomware aims to take your computer files hostage HFGD ransomware is a malicious malware…
Remove RGUY Ransomware Virus (DECRYPT .rguy FILES)
Description of RGUY ransomware which is designed to encrypt files on computers worldwide RGUY ransomware…
Remove MMUZ Ransomware Virus (DECRYPT .mmuz FILES)
MMUZ ransomware arises from the infamous STOP/DJVU data-encrypting malware group MMUZ ransomware is a dangerous…
Remove VLFF Ransomware Virus (DECRYPT .vlff FILES)
VLFF ransomware is a virtual menace to your computer files VLFF ransomware is a newly…
Remove UIGD Ransomware Virus (DECRYPT .uigd FILES)
UIGD ransomware encrypts all files on a computer, asks for a ransom UIGD ransomware is…
Remove EYRV Ransomware Virus (DECRYPT .eyrv FILES)
EYRV ransomware takes your computer files hostage, demands a ransom EYRV ransomware is a destructive…